
How to install the flush-to-wall pivot door
The door leaf turns on a vertical axis, with a pivot in the floor and a keeper at the top: no visible hinges. The aluminium frame is set into the wall flush with the plaster; then the pivot cup is fixed in the floor and the panel is fitted. These are the 15 steps of the FIP sheet for masonry walls.
- 15 steps
- Ø 25 mm pivot cup hole
- 2 sides to paint, always
Four phases, 15 steps
First the frame in the wall, then the pivot cup in the floor, the panel with its adjustments and, last of all, the painting.
You'll need
- Plumb line
- Drill
- Ø 8 mm bit
- Ø 25 mm cutter
- Allen key
The sheet has no list of tools: these are the ones mentioned in the steps.
This guide is for masonry walls. If your wall is plasterboard, message us before you start.
The frame in the wall
The frame sets the plaster line: it must be plumb and must not move while the gaps are being filled.
- 1
Position the frame
Stand the aluminium frame on the floor, with the stiffening spacers, and plumb it.
- 2
Apply the mesh and skim
Apply the mesh supplied so that it overlaps the frame and the masonry, then skim, keeping to the plaster line set by the frame.
- 3
Fill with cement Caution
Fill the gaps between the frame and the rough wall with cement, without moving the frame. Wait for it to dry.
The pivot cup
The two templates in the kit show where to drill the floor and centre the pivot cup.
- 4
Drill with the first template Ø 8 × 35 mm
Place the first template on the floor, paying attention to the opening direction, and drill a Ø 8 mm hole 35 mm deep: this is the centring point.
- 5
Widen the hole Ø 25 × 35 mm
At the centring point, cut a Ø 25 mm hole, 35 mm deep.
- 6
Second template and sealant
Place the second template and put the sealant in the hole.
- 7
Insert the pivot cup
Insert the pivot cup, centred with the template.
- 8
Remove the template Caution
Only remove the template once the sealant has set.
The panel and the adjustments
First the distance from the floor is adjusted, then the side clearances at the bottom and at the top.
- 9
Insert the pivot
Insert the pivot.
- 10
Set the floor clearance
The clearance is the gap between panel and floor. A) remove the top screw; B) adjust the lower support screw; C) refit the top screw until it locks the lower one.
- 11
Retract the top pivot
If the top pivot sticks out, retract it.
- 12
Fit the panel
Place the panel in the lower housing and, aligning it at the top, retract the top pivot into the panel using the Allen screw.
- 13
Adjust the side clearances at the bottom
If necessary, even out the side clearances of the panel on the aluminium frame using the lower brass arm.
- 14
Adjust the side clearances at the top
If necessary, even out the side clearances of the panel on the aluminium frame using the top pivot keeper.
The finish
The panel must always be treated on both sides, even when you clad it.
- 15
Prepare and paint the panel Caution
Clean the panel and apply primer on both sides and on the edges; then the finish, always on both sides and on the edge.
If you clad the door leaf
Mirror
Glue the mirror glass with neutral-cure silicone.
Ceramic
Glue the ceramic with acetic silicone.
Wallpaper
Use traditional paste, on both sides.
Paints, glues, silicones or paper on one side only impair the flatness of the panel: always treat it on both sides.
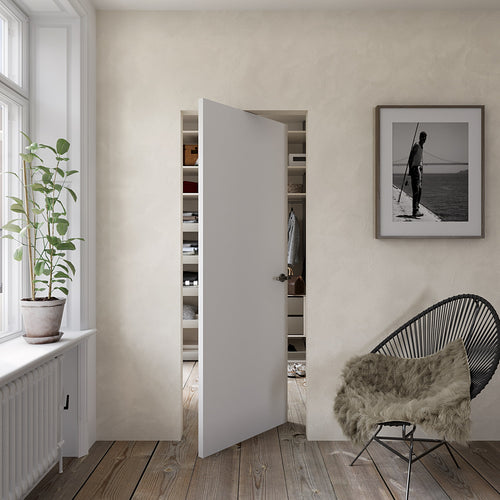
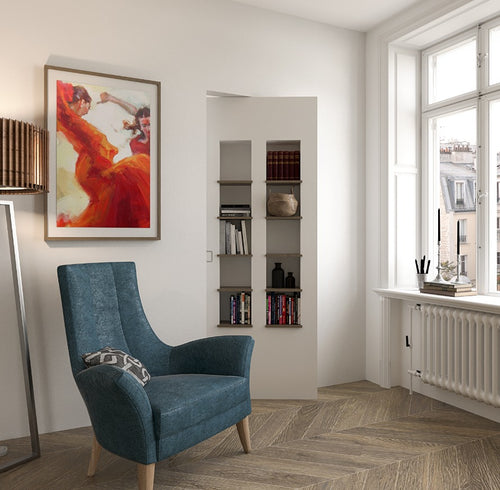
Our flush-to-wall pivot doors
Message us while you install the door
Send us a photo on WhatsApp of the point where you stopped: we'll tell you how to carry on. You'll find all our other installation instructions under Technical support.


