
How to install a pocket sliding door
The panel hangs from the two carriages that run in the track of the pocket frame, inside the wall; then the jamb frame, brush seals and architraves are fitted. These are the 21 steps of the FIP installation sheet for the pocket door.
- 21 steps
- 12 cm from the edge for the plates
- 13 mm spanner for the height
Three phases, 21 steps
First the pocket frame is prepared, then the panel is hung, and the opening is finished last.
You'll need
- Electric screwdriver
- Tape measure
- 13 mm spanner
- Silicone gun
The tools are those shown in the drawings on the installation sheet.
The pocket frame
Before installation, the front strip and the spacers of the pocket frame are removed.
- 1
Remove the front strip
Remove the metal front strip from the pocket door frame.
- 2
Remove the spacers
Remove the inner polystyrene spacers.
- 3
Take out the accessories
The accessories are inside the pocket frame: take them out and lay them out ready for installation.
Carriages and panel
The carriages go into the track; the panel, with the brackets and the anti-sway guide, hooks onto their bolts.
- 4
Assemble the carriage
Assemble the carriage with its bolts.
- 5
Insert the rollers
Insert the rollers into the upper track.
- 6
Slide the carriages in
Slide the two carriages into the track.
- 7
Fix the plates 12 cm
12 cm from the side edge, fix the plates for hooking on the carriages.
- 8
Fit the brackets
Fit the brackets on the panel with the screws supplied.
- 9
Try the anti-sway guide
Try the anti-sway guide with the tool supplied.
- 10
Insert the rubber stop
Insert the rubber stop into the side edge of the panel.
- 11
Fix the anti-sway guide
Fix the anti-sway guide under the panel: it stops the panel from moving unevenly.
- 12
Hang the panel
Hook the panel onto the carriage bolts.
- 13
Adjust the height 13 mm spanner
Adjust the height of the panel with the 13 mm spanner.
Finishing touches
Jamb frame, brush seals and architraves close off the opening; the strike plate goes on last.
- 14
Fit the end stop
Fit the end stop inside the track.
- 15
Fix the jamb frame
Fix the jamb frame.
- 16
Fit the brush seals
Fit the brush seal on both sides.
- 17
At the top too
Do the same at the top.
- 18
Fix the architraves
Fix the architraves with silicone: that way no small nails are left showing.
- 19
At the top too
Do the same at the top.
- 20
Screw on the strike plate
Once you have set the height of the strike plate, screw it into the frame.
- 21
The result
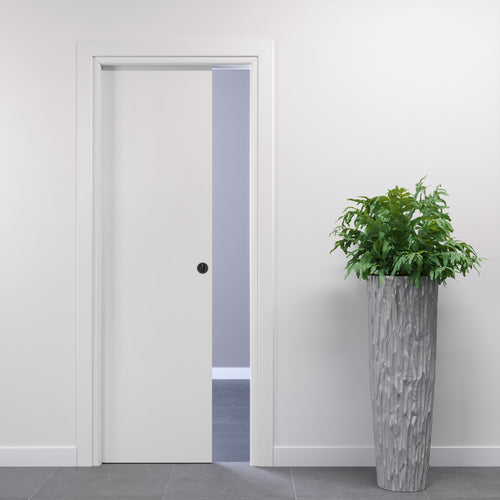
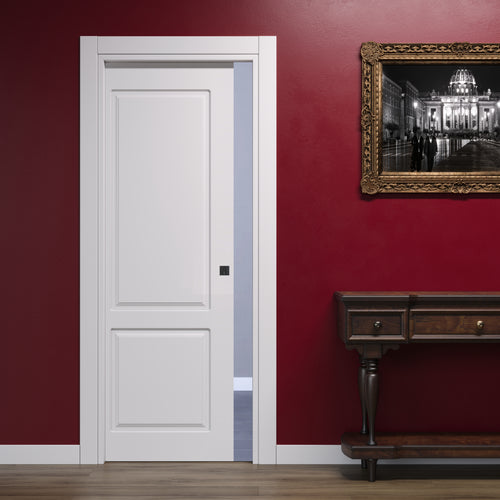
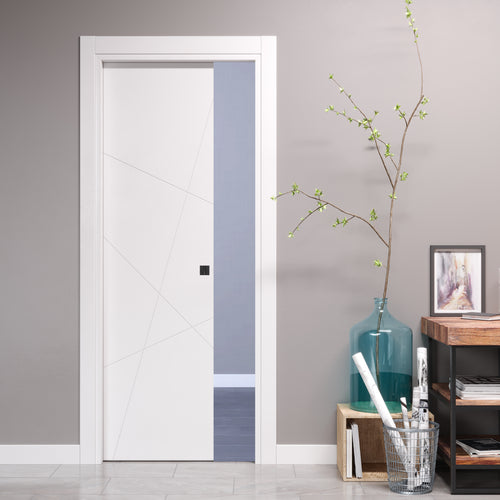
The pocket sliding door is installed.
Our pocket sliding doors
Message us while you install the door
Send us a photo on WhatsApp of the point where you stopped: we'll tell you how to carry on. You'll find all our other installation instructions under Technical support.


