
How to install the sliding door with a Universal framed leaf
The track is fixed to the ceiling; the two carriages are locked onto the leaf and the soft-close dampers slow it down as it closes. These are the steps from the two FIP sheets for the Universal track: the technical one with the measurements and the one with the step-by-step photos.
- 15 steps
- − 65 mm the door relative to the opening
- 635 mm the minimum width
Three phases, 15 steps
First the carriages are prepared on the leaf, then the track is fixed with the stops; finally the door is hung.
You'll need
- Drill
- Screwdriver
- Allen keys (supplied)
- Tape measure
The Allen keys are in the accessories pack; the drill, screwdriver and tape measure are needed for the steps on the sheets.
The measurements of the door
These are the two rules from the technical sheet for the Universal track.
The height
Door height = opening height − 65 mm.
Example: opening 2100 mm high, door 2035 mm high.
At the bottom: the door runs in a floor guide.
The width
The door must be at least 635 mm wide.
Track: 34 × 35 mm profile, fixed to the ceiling.
The leaf and the carriages
First the stops and the two carriages are prepared on the leaf.
- 1
Check the accessories
Open the pack and check the accessories supplied: they include the screws and the hex keys (Allen keys).
- 2
Insert the square retaining block
Insert the square retaining block into the track and slide it inside.
- 3
Lock the retaining block 102 mm
Lock the square retaining block 102 mm from the side edge, as in the photo on the sheet.
- 4
Insert the carriage
Slide the carriage into the top guide.
- 5
Bring the carriage flush
Position the retaining block with the carriage flush with the leaf.
- 6
Do the same with the second carriage
Insert the second carriage as well and bring it flush.
- 7
Lock the carriages
Lock the carriage with the Allen key, then tighten the other screw too.
- 8
Adjust the carriage height ≥ 7 mm
Loosen the top screw with a screwdriver and adjust the height of the carriage: there must be at least 7 mm between the base of the carriage and the aluminium profile. Then tighten the screw.
The track and the stops
The track is fixed to the ceiling; the stop plates are locked at different distances at the two ends.
- 9
Fit the pulley and the damper
Fit the top pulley and the soft-close damper in the track.
- 10
Fix the track to the ceiling
Drill the ceiling and fix the track with the screws.
- 11
Insert the first stop plate 238 mm
Slide the first stop plate into the track and lock it 238 mm from the end of the track.
- 12
Insert the second plate 379 mm
Lock the second plate 379 mm from the other end of the track.
- 13
Adjust the dampers
The position of the dampers in the track is adjusted according to the actual width of the door.
Hanging the door
Finally, the leaf is hung and the height adjusted.
- 14
Hang the door
Hang the leaf on the track.
- 15
Adjust the door height
Adjust the height of the door.
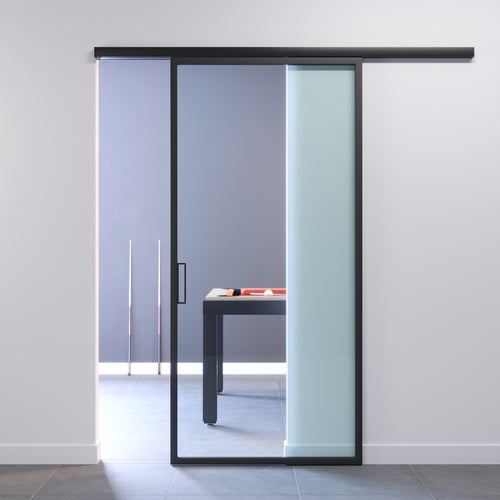
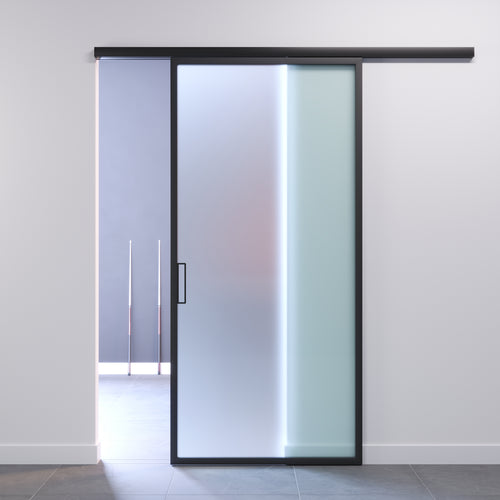
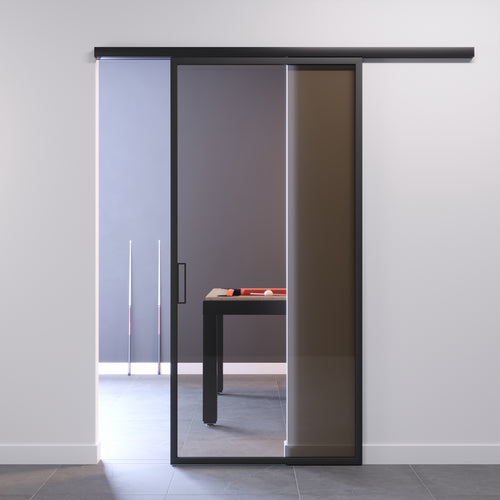
Our sliding doors with a Universal framed leaf
Message us while you install the door
Send us a photo on WhatsApp of the point where you stopped: we'll tell you how to carry on. You'll find all our other installation instructions under Technical support.


